Ceiling fans are one of the most neglected cleaning tasks in the home. They sit above eye level. You do not see the dust accumulating on top of the blades. Then one day you look up and realize there is a half-inch layer of gray fuzz coating every blade. The dust is thick enough to change the color of the fan.
Cleaning it seems like a guaranteed mess. You touch a blade and dust snows down onto your bed, your floor, your head. So you put it off. The cycle continues.
There are better ways. Methods that trap the dust instead of releasing it. Here is how to clean your ceiling fans without turning your room into a dust cloud.
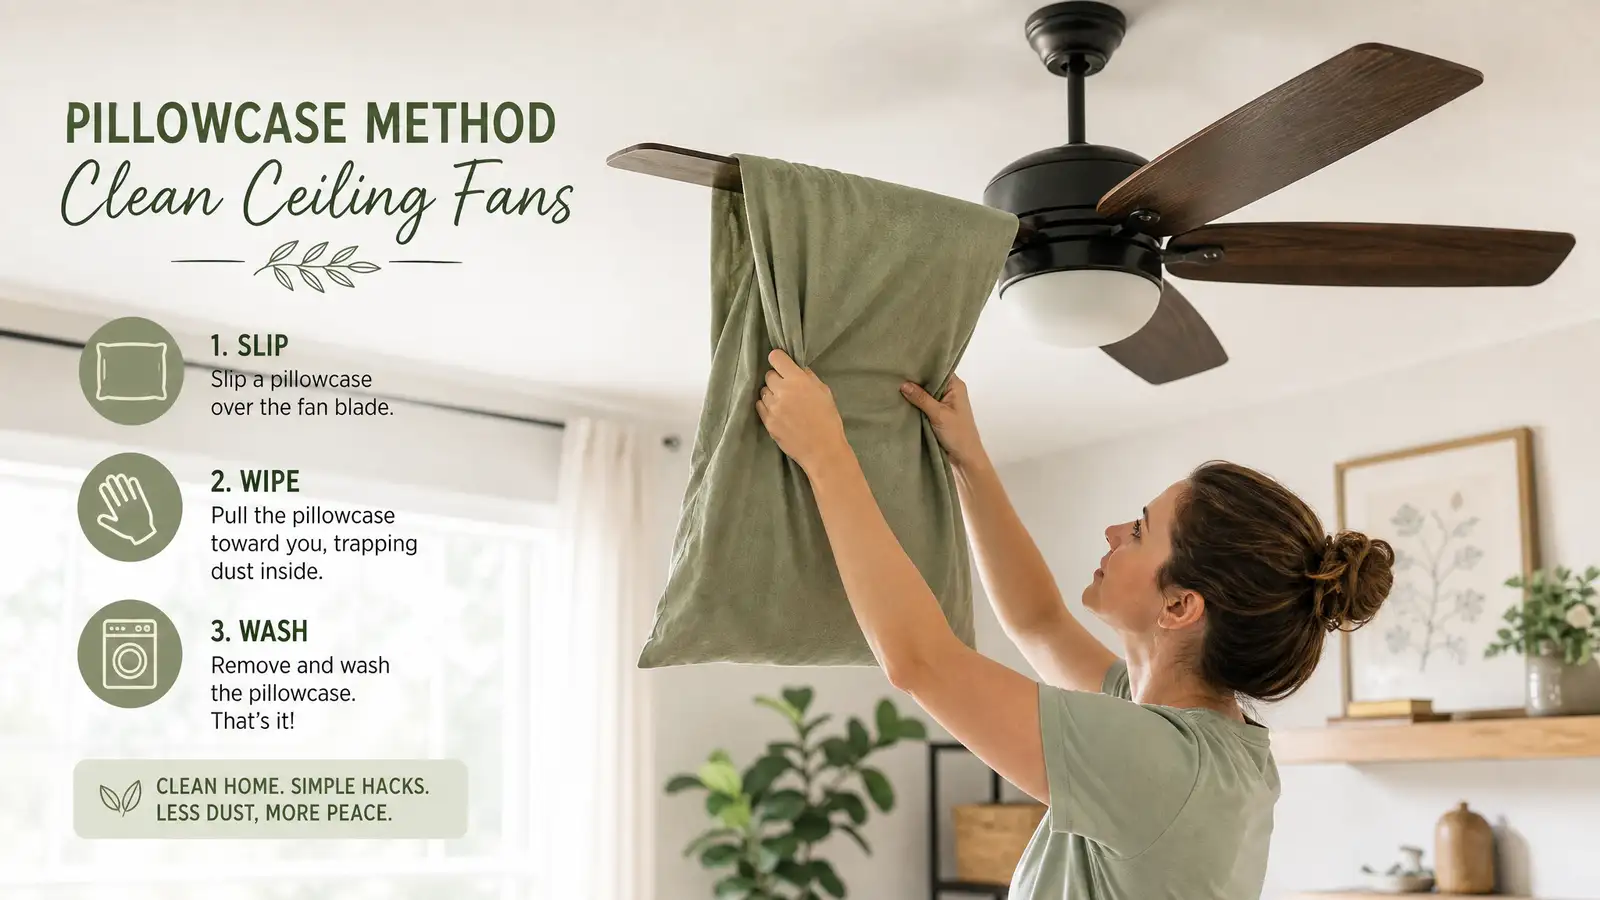
The pillowcase method is the gold standard.
This technique has been circulating online for years. It works. Here is how to do it.
Get an old pillowcase you do not care about. A standard size works for most fan blades. Stand on a sturdy step stool or ladder positioned so you can reach the blade comfortably. Slide the pillowcase over the entire blade, covering it completely from the motor housing to the tip.
Press the fabric gently against the top and bottom of the blade with your hands. Then pull the pillowcase slowly back toward you, keeping pressure on the blade as you slide it off. The dust peels away from the blade and falls directly into the pillowcase. It does not escape into the air. It does not land on your furniture.
When you finish all the blades, take the pillowcase outside. Turn it inside out and shake the dust into the trash or the yard. Throw the pillowcase directly into the washing machine. Do not carry it through the house trailing dust.
This method works on blades with light to moderate dust buildup. For heavy buildup that has become sticky or greasy, you need a damp approach.
The damp microfiber cloth technique for heavy buildup.
Kitchen ceiling fans accumulate more than dust. Cooking grease mixes with dust to form a sticky residue that the dry pillowcase method cannot fully remove. This is common above stoves and in open-plan homes where the kitchen is not separated from the living area.
For these fans, use a damp microfiber cloth. The key word is damp, not wet. A dripping cloth sends dirty water running down your arm and onto the floor. Wring the cloth out thoroughly. It should feel barely moist.
Fold the cloth over the blade and wipe from the motor housing outward in one smooth motion. Do not saw back and forth. That just redistributes the grime. One pass per side, top and bottom. Rinse the cloth in a bucket of warm water with a drop of dish soap between blades. The dish soap cuts through the grease.
After the damp pass, dry each blade with a clean dry microfiber cloth. Moisture left on the blade attracts new dust faster. Get it dry and you extend the time until the next cleaning.
Extending duster tools for high ceilings.
If your ceilings are high and the fan is out of reach even with a step stool, you do not need to set up a full ladder every time. Extending duster tools solve the reach problem.
A microfiber duster on an extension pole can reach blades on standard-height ceilings without climbing. Look for a duster head that bends to match the angle of the blades. Flat duster heads miss the top surface where most of the dust accumulates. An angled head or a flexible head wraps around the blade.
For very high ceilings, an extension pole that telescopes to twelve feet or more will reach most residential fans. Pair it with the pillowcase method by tucking the pillowcase around the blade using the pole as your arm extension. This takes practice but it is faster than hauling out a tall ladder every month.
If you must use a ladder for high ceilings, make it count. Clean the fan, the light fixtures, the air return vents, and the tops of door frames all in one session. High dusting is an every-month task. Batch everything up there.
Set the correct fan direction for the season.
Ceiling fans have a directional switch on the motor housing. In summer, the fan should spin counterclockwise. This pushes air straight down and creates the wind-chill effect that makes you feel cooler. In winter, flip the switch so the fan spins clockwise at low speed. This pulls cool air up and pushes warm air that has risen to the ceiling back down the walls.
This is relevant to cleaning because it affects dust distribution. A fan running in the wrong direction stirs up dust unevenly. It also means you are probably not running the fan, which lets dust settle undisturbed. A fan that runs regularly in the correct direction collects less dust overall because airflow prevents settling.
Clean the fan, verify the direction is right for the season, and keep it running on low when the room is occupied. The dust stays airborne less and settles less on the blades.
A monthly cleaning schedule.
Ceiling fans need monthly cleaning during seasons of heavy use. In summer and winter, when the fan runs daily, clean it every four weeks. In spring and fall, when the fan runs less, every eight weeks is fine.
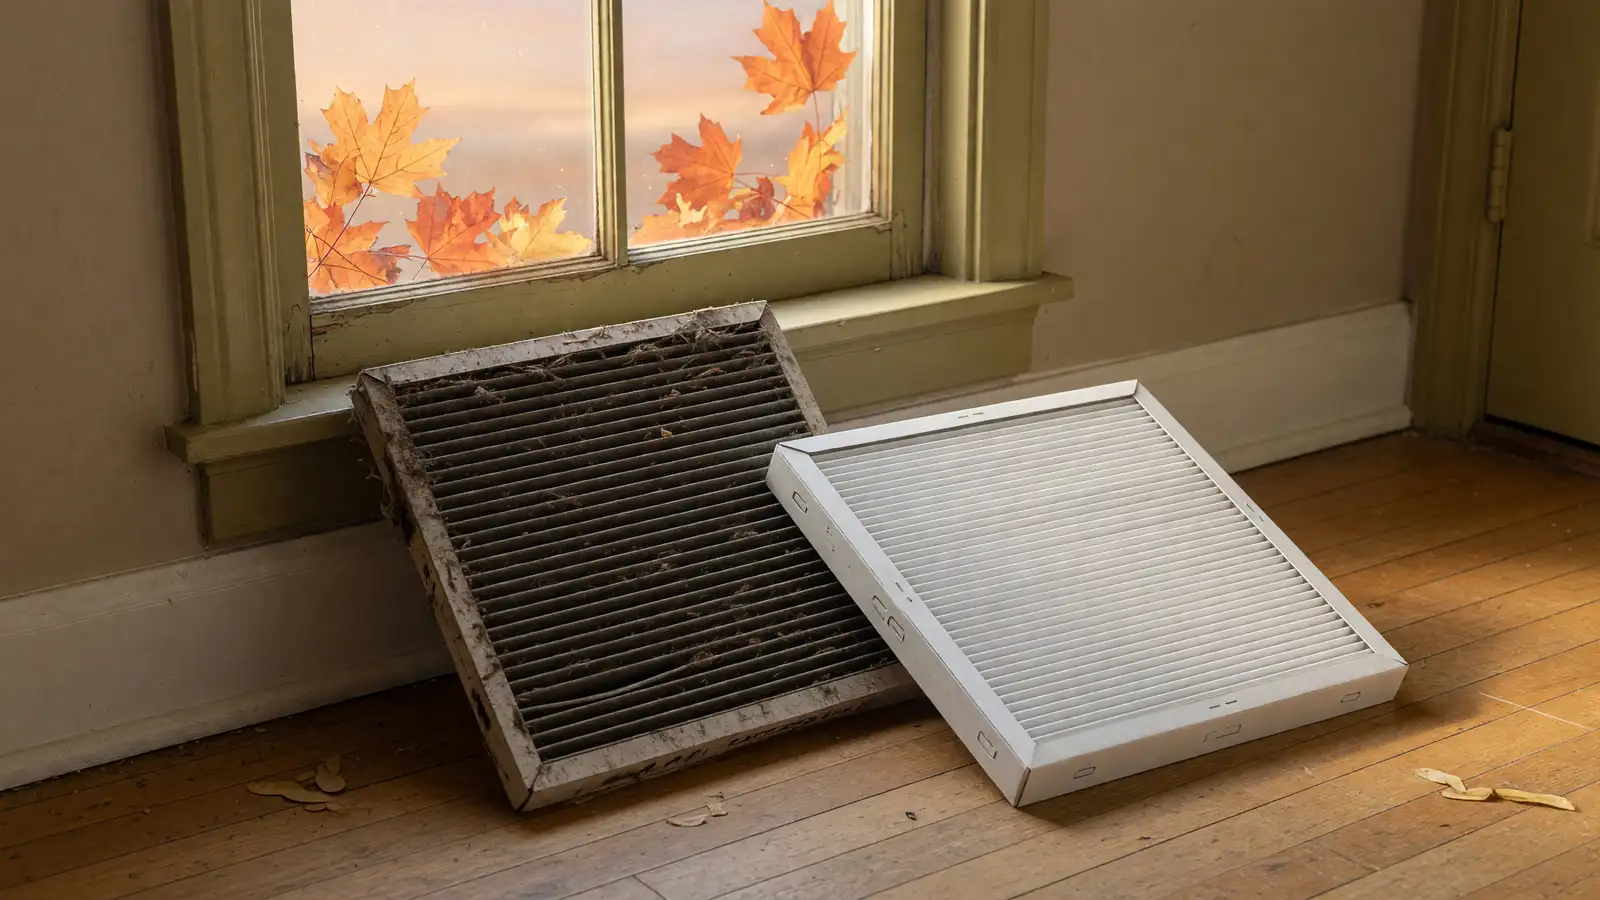
Tie the cleaning to another monthly task so you remember it. Change your HVAC filter and clean the ceiling fan on the same day. Both tasks involve ladders or reaching overhead. Both affect air quality. They belong together on the calendar.
Set a recurring phone reminder. “First Saturday of the month: change filter, clean fans.” The reminder eliminates the decision about whether it is time. The decision is already made. You just execute.
Clean the light fixtures and pull chains too.
While you are up there with your pillowcase and microfiber cloth, clean everything attached to the fan. The light fixture globe collects dead bugs and dust. Remove the globe, wash it in the sink with warm soapy water, dry it completely, and reattach it. A dirty globe dims the light output significantly.
The pull chains get grimy from hand contact. Wipe them down with a damp cloth. If they are metal, a little rubbing alcohol removes the buildup. If they are decorative fabric pulls, spot clean them gently.
The motor housing collects dust on top, just like the blades. Wipe it down while you are there. The mounting bracket where the fan attaches to the ceiling is another dust trap. A quick pass with the microfiber cloth handles it.
Reverse direction after cleaning to test reassembly.
If your fan has removable blades or light fixtures that you took apart for cleaning, the final step is to turn the fan on and verify everything works. Run it on low speed first. Listen for wobbling, clicking, or scraping. A blade that is not fully seated makes noise immediately.
Then run it on the highest speed. The fan should be steady and quiet. If it wobbles, one blade may be slightly higher or lower than the others. Use a yardstick to measure the distance from each blade tip to the ceiling. Bend the blade bracket gently to align them.
Test both directions with the seasonal switch. Flip it to summer mode, run the fan, confirm airflow pushes down. Flip to winter mode, confirm the blades spin the opposite way. This is a good habit because it also serves as your seasonal direction change. Clean the fan, test both directions, leave it on the correct setting for the season. Three tasks done in one session.
Ceiling fans improve air quality when clean.
A dirty ceiling fan does the opposite of its intended purpose. It circulates dusty air. It distributes allergens. It coats the room in a fine layer of whatever has been accumulating on those blades for months.
A clean ceiling fan improves air circulation, reduces dust in the room, and makes heating and cooling more efficient. The ten minutes you spend once a month cleaning it pays back in better air quality and lower energy bills. You just need the right technique so the dust ends up in the pillowcase instead of on your bed.