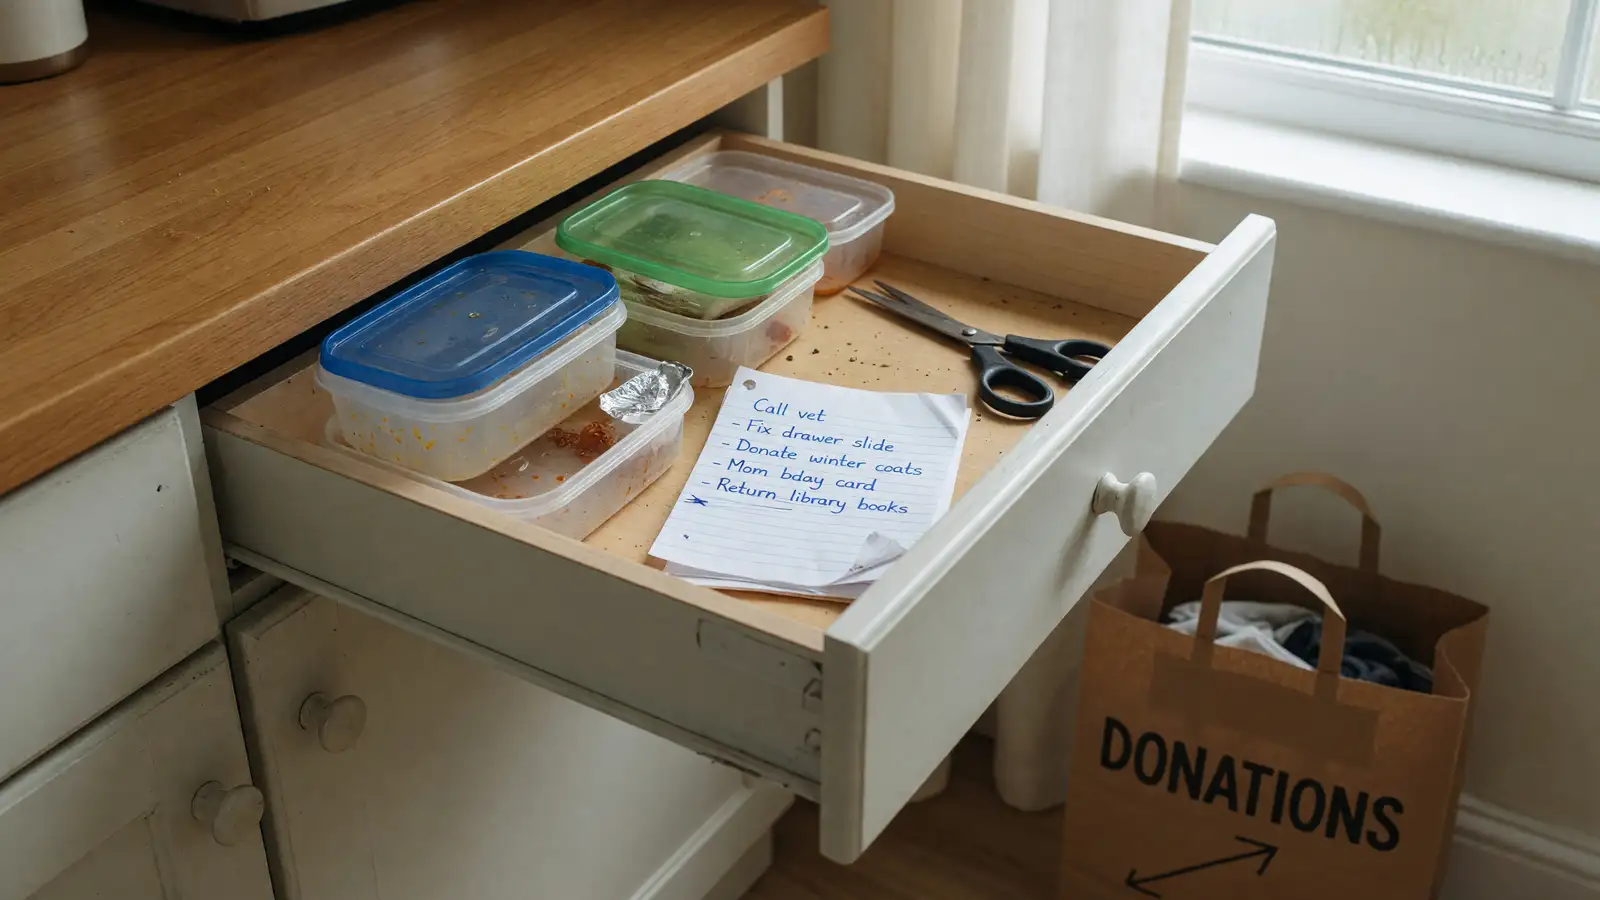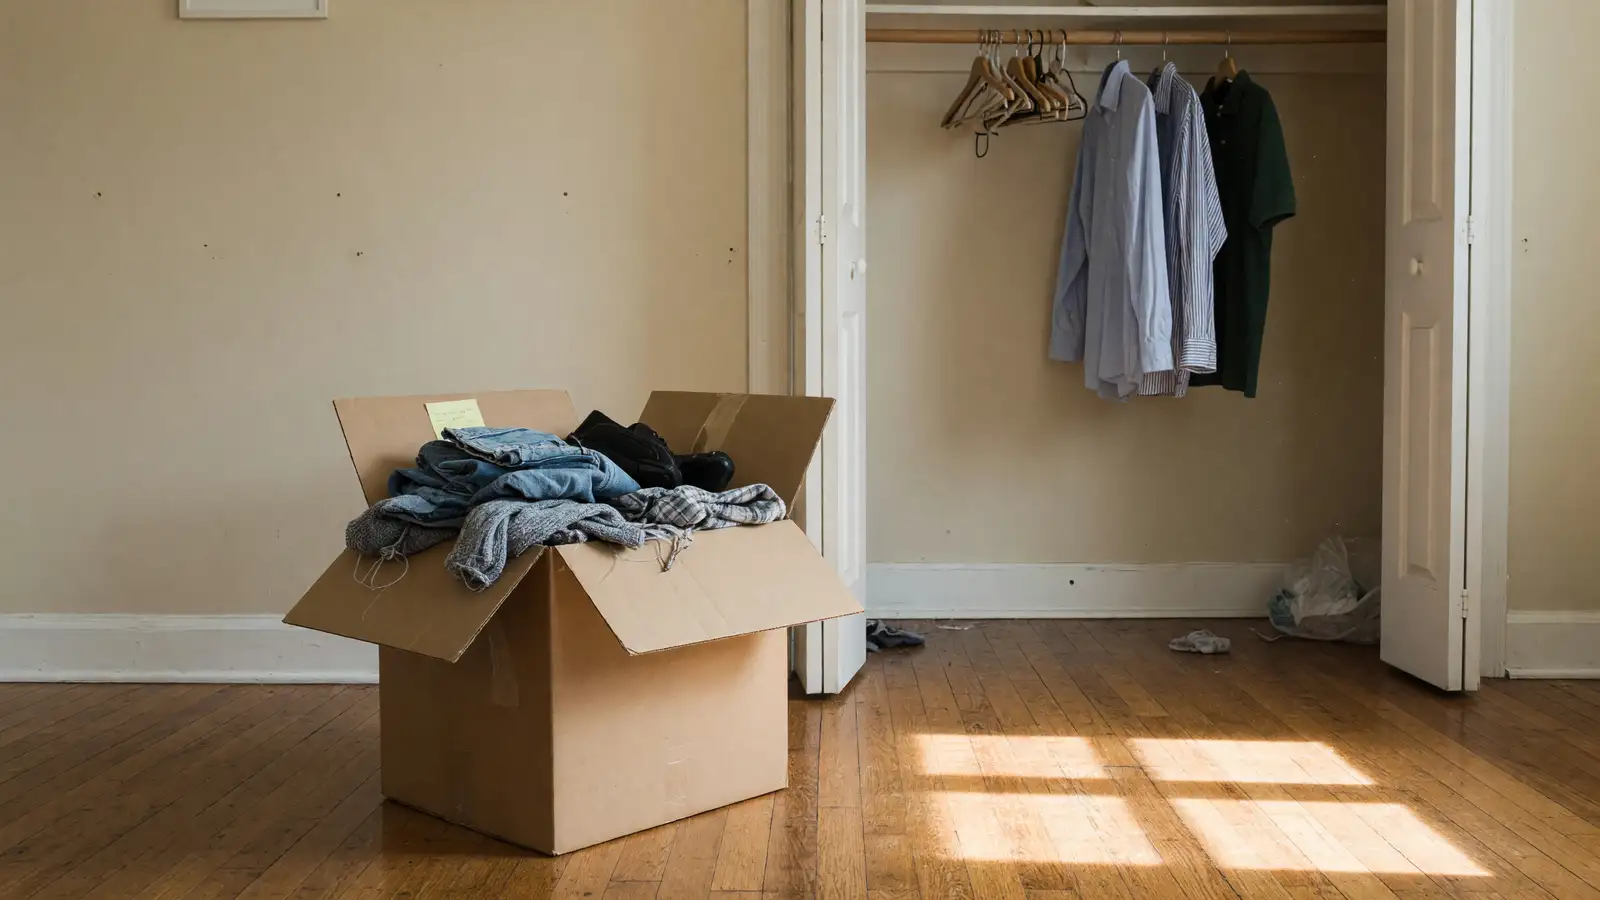
Most decluttering advice fails because it tells you to tackle everything at once. Clean out the closet, the kitchen, the garage, the kids’ rooms, the attic. By Wednesday you are exhausted, surrounded by trash bags, and wondering why you started. The project stalls, and the clutter creeps back within weeks.
The one-room minimalist challenge works differently. You pick one room. You give yourself seven days. Each day has a single, defined task that takes thirty minutes to an hour. By Sunday, that room is noticeably different. Not magazine-perfect. Not empty. Just a space that actually works for you instead of against you.
Here is how to run the challenge, starting tomorrow.
Why one room at a time works
The average American home contains around 300,000 items, according to a Los Angeles Times survey. That is a staggering number when you think about it. Every drawer, shelf, and closet has been quietly accumulating things for years. Trying to address all of it at once triggers what psychologists call “decision fatigue.” You make better choices in the first twenty minutes of sorting than in the third hour.
Professional organizers have known this for decades. The ones who get sustainable results do not start by asking clients to empty the entire house. They start with one room, one zone, sometimes one shelf. The success of that small area builds momentum for the next one.
A one-room challenge also gives you a visible before-and-after. You walk into the room on Monday and again on Sunday, and the difference is obvious. That visual proof matters more than any motivational podcast. You can see that the method works, which makes you want to keep going.
Pick your room wisely
The first decision determines whether the challenge succeeds or flops. Choose a room based on two criteria: how much it bothers you, and how often you use it.
The guest bedroom that nobody visits is low-impact. The living room where you spend four hours every evening is high-impact. The kitchen where you cook daily is also high-impact, though kitchens involve more complexity with appliances, food storage, and duplicate utensils.
If this is your first time doing a structured declutter, start with a room that has mostly non-sentimental items. Bedrooms, bathrooms, and living rooms tend to be easier than attics, basements, or family offices where paperwork and photos pile up. Save those for round two.
Walk through your chosen room and count the major zones. A typical living room might have: the TV/media area, bookshelves, coffee table, side tables, under-sofa storage, a closet or cabinet, and decorative surfaces. Each zone gets one day of attention.
The 7-day schedule
Day 1: The surface sweep
Start with everything you can see. Tables, counters, shelves, the tops of dressers, windowsills. Grab a box or laundry basket and go around the room. Anything that does not belong in this room goes into the basket. Remote controls that belong in the bedroom, books from the office, toys from the kids’ room, mail that needs filing elsewhere. Just move them out. Do not put them away yet. That is a separate task for a separate day.
After relocating items that belong elsewhere, look at what remains on surfaces. Ask yourself about each item: when did I last use this, and will I use it again in the next thirty days? If the answer is no or a shrug, it goes into a donate or discard pile.
The goal for day one is clear surfaces. Not empty, just clear of random accumulation. This takes about thirty minutes for most rooms and creates an immediate sense of order.
Day 2: Bookshelves and display areas
Pull everything off one shelf at a time. Dust the shelf. Put back only the items you genuinely want to look at or use. Most people find they keep about sixty percent of what was on the shelf. The rest goes into donate or discard.
Be honest about decorative objects. That ceramic vase you received as a gift but never chose yourself, the travel souvenirs you have stopped noticing, the awards and certificates from a job you left five years ago. If an item does not bring you a clear feeling of pleasure or usefulness when you hold it, let it go.
Display surfaces are tricky because they feel like they need to be full. A shelf with three meaningful items and some breathing room looks better than one crammed with fifteen random objects. Negative space is not wasted space.
Day 3: Storage furniture (cabinets, side tables, under-furniture storage)
Open every cabinet, drawer, and storage bin in the room. Pull everything out. Sort into four piles: keep here, donate, discard, relocate to another room.
This is where duplicate items live. Three sets of coasters when you only need one. Two reading lamps in a room that only needs one. Extra blankets stacked so deep the bottom ones mildew. Most storage furniture in a living area should hold no more than what you actually reach for weekly.
If you have not opened a particular cabinet or drawer in over a year, everything inside it is a candidate for removal. The exception is emergency supplies like flashlights or first-aid kits, which belong in a designated emergency zone, not scattered across storage furniture.
Day 4: Textiles and soft furnishings
Curtains, throw blankets, decorative pillows, area rugs, and sofa covers. These items collect dust and pet hair silently, and most people own far more than they use.
Pick up each textile item. If it has stains that will not come out, or fading, or pilling that makes it look worn, it goes. If you have four throw blankets on a sofa that seats two people, keep the two you actually use. If the pillows are decorative but uncomfortable and you move them off the couch every time you sit down, they are furniture obstacles, not decor.
Wash or vacuum everything you are keeping. Clean textiles transform a room more than new ones do.
Day 5: Electronics, cables, and media
This day usually produces the most satisfying results. Old chargers, tangled cables, remote controls for devices you no longer own, DVDs you will never watch again, gaming consoles that have not been turned on in years.
Gather every cable and charger in the room. Test them if you can. Anything that does not match a current device goes. Zip-tie or velcro-wrap the cables you are keeping so they do not become a spaghetti mess again.
If you have a media collection, be realistic. Physical DVDs and CDs that you stream digitally anyway are just taking up space. Donate them. The same goes for old game discs and instruction manuals that are available online.
Day 6: Closet or wardrobe zone
If the room has a closet, today you tackle it. Pull everything out. The standard test: have you worn or used this item in the last twelve months? If not, and it is not seasonal or emergency gear, it goes.
For clothing, the “hanger trick” works well. Turn all hangers backward. After wearing an item and washing it, hang it with the hanger facing forward. After six months, anything still backward has not been worn and can leave.
Shoes get the same treatment. Shoes you keep meaning to wear but never do are aspirational clutter. They take up physical space and mental bandwidth.
Day 7: Final pass and systems
Walk through the room slowly. Look at every surface, every shelf, every storage area. You will notice things you missed on earlier days. A charger tucked behind the nightstand. Books stacked beside the bed. A basket of miscellaneous items that somehow survived all week.
This is also the day to set up the systems that keep the room organized. A designated spot for the remote. A single catch-all drawer for small items. A rule about the coffee table: nothing stays there overnight.
The systems do not need to be elaborate. The simpler the rule, the more likely you stick with it. “One basket for mail” is better than a complicated filing system. “Shoes go in the closet” beats a twelve-tier shoe organizer you have to maintain.
What to do with the stuff you removed
Sorting is only half the work. If the donate and discard piles sit in garbage bags by the front door for two weeks, you have created a different kind of clutter.
Donate items in good condition to a local thrift store or shelter. Schedule the drop-off within forty-eight hours. If you let it sit longer, the temptation to “just check one more time” grows, and items creep back into the room.
For items in poor condition, bag them and put them out with the next trash pickup. Do not let broken, stained, or damaged items linger in your donate pile. They are not donations. They are trash that feels wasteful to throw away.
Items with resale value can go on a local marketplace. Set a seven-day listing window. If they do not sell, donate them. The space they free up is worth more than the money they might bring in.
After the challenge
One clean room does not fix the rest of the house. But it proves something important: you can change a space in a week without hiring help or spending money. That proof matters.
Many people find that the habits they built during the week carry over naturally. They start noticing clutter in other rooms. They stop bringing new items into the house without thinking about where they go. The one-room challenge becomes a starting point, not an isolated event.
If you want to keep going, repeat the seven-day cycle with the next room. Pick the one that bothers you most after the first one is done. By the third or fourth room, you will have a system that feels automatic.
The goal was never to own as little as possible. It was to own only what earns its place. After seven days, you will know exactly what that looks like in one room. The next room gets easier. And the one after that. Before long, the entire home feels like it belongs to you again, not to the accumulated stuff that was slowly taking over.