Most homeowners have figured out their weekly rhythm: vacuum the floors, wipe the counters, scrub the bathrooms. But there’s a second tier of chores that live between your weekly routine and the seasonal deep-clean. These are the tasks you should tackle once a month.
Skipping monthly cleaning doesn’t make a mess overnight, but the slow accumulation is real. Dust builds on ceiling fans until a breeze sends it snowing into your living room. Grout darkens in the shower one tile at a time. The dishwasher filter clogs so gradually you barely notice the dishes coming out less clean each week.
A monthly cleaning schedule catches these problems before they become projects that demand an entire weekend. Fifteen targeted tasks, spread across two or three weekends each month, will keep your home at a consistently higher standard of clean.
Why Monthly Cleaning Matters
Weekly routines handle surface-level messes. Monthly tasks address the buildup that weekly cleaning misses entirely. Consider your washing machine: you run laundry weekly, but the drum, detergent drawer, and filter accumulate soap scum, lint, and minerals over time. Running a cleaning cycle once a month keeps the machine hygienic and your clothes smelling fresh.
The same logic applies throughout the house. Monthly cleaning fills the gap between maintenance and renovation. It’s cheaper than professional deep-cleaning services and less overwhelming than letting grime accumulate for six months.
The 15-Task Monthly Cleaning Checklist
1. Wash Baseboards and Trim
Dust and scuff marks accumulate along baseboards in ways that mopping and vacuuming can’t touch. A microfiber cloth dampened with warm water and a few drops of dish soap works well. For stubborn marks, a melamine sponge removes them without damaging paint. Work room by room and you’ll complete the entire house in about 45 minutes.
If you have wainscoting or chair-rail molding, include those surfaces. Dust settles on horizontal trim surfaces just as readily as on floors.
2. Clean Ceiling Fans and Light Fixtures
Dust on ceiling fan blades creates a double problem: it looks unattractive, and every time you turn the fan on, it circulates that dust through the room. Use an extendable duster or pillowcase trick — slide a damp pillowcase over each blade, pull it back, and the dust stays trapped inside.
For light fixtures, turn off the power first, remove glass shades or covers, and wash them in warm soapy water. Wipe down bulb surfaces (when cool) to restore full brightness.
3. Deep-Clean the Dishwasher
Remove the bottom rack and take out the filter at the base of the tub. Rinse the filter under hot water, removing trapped food particles. Check the spray arms for clogged holes and clear them with a toothpick.
Run an empty cycle with a cup of white vinegar on the top rack or use a commercial dishwasher cleaner. Wipe down the door gasket, where mold and food residue tend to accumulate unnoticed.
4. Clean Small Appliances
Your microwave, toaster oven, air fryer, and coffee maker all see regular use but infrequent deep cleaning. The microwave deserves attention first: heat a bowl of water with lemon slices for three minutes, let the steam loosen grime, then wipe the interior clean.
For the coffee maker, run a descaling cycle with equal parts water and white vinegar, followed by two cycles of plain water. Empty and wash the toaster oven crumb tray. Wipe down the air fryer basket and check for grease buildup around the heating element.
5. Wash Interior Windows and Window Tracks
Window tracks collect dead insects, dust, and pollen that eventually clog drainage holes. Vacuum loose debris first, then use an old toothbrush dipped in soapy water to scrub the tracks. A cotton swab reaches the corners where debris packs most tightly.
Clean the glass with a vinegar-water solution and a lint-free cloth or newspaper. Don’t forget the screens — removing them and giving them a gentle rinse removes a surprising amount of allergens.
6. Sanitize Trash and Recycling Bins
Kitchen trash bins develop odors and bacterial films even with regular bag changes. Take the empty bin outside, hose it down, scrub the interior with a brush and disinfecting cleaner, and let it dry completely before inserting a fresh bag.
Apply the same process to recycling bins, which often carry more residue than people realize. Sticker residue from cans and jars, liquid spills, and decomposing food particles all contribute to contamination and odor.
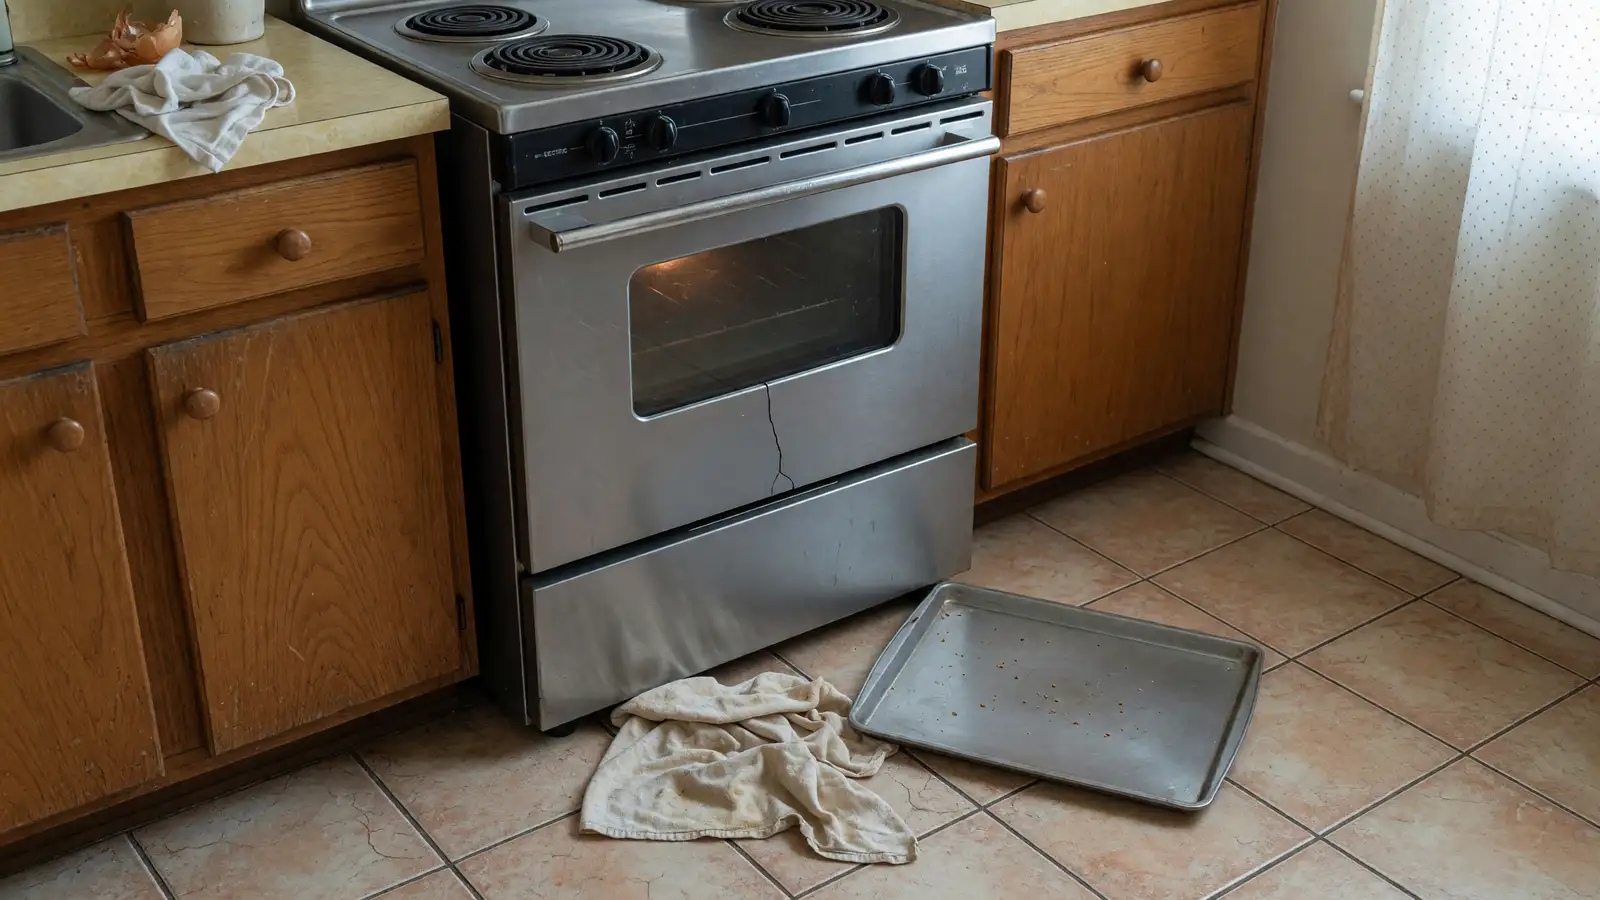
7. Clean Under and Behind Large Appliances
Pull out the refrigerator, stove, and washing machine if possible. Use a vacuum with a long attachment to remove dust, pet hair, and lost food items. Sweep or mop the floor underneath before pushing the appliance back.
This task doubles as a maintenance check. Look for water leaks, unusual wear on power cords, or signs of pest activity that you might otherwise miss.
8. Wash Reusable Shopping Bags and Produce Bags
Reusable bags carry bacteria from raw meats, soil from unwashed produce, and general street grime. Canvas and nylon bags can go in the washing machine with your regular laundry. Insulated bags with waterproof liners should be wiped down inside with disinfecting wipes and air-dried.
This monthly habit prevents cross-contamination and extends the life of your bags by preventing stain buildup.
9. Deep-Clean Shower Heads and Faucets
Mineral deposits from hard water reduce water pressure and leave unsightly buildup on fixtures. Fill a plastic bag with white vinegar, secure it around the shower head with a rubber band, and leave it overnight. In the morning, scrub gently with an old toothbrush and rinse.
Apply the same technique to faucet aerators — unscrew them, soak in vinegar for an hour, scrub, and reinstall. Your water pressure improvement will be immediately noticeable.
10. Wash Mattress Protectors and Pillow Protectors
You probably wash your sheets weekly, but the protective layers between your sheets and the actual mattress and pillows deserve monthly attention too. Mattress protectors absorb sweat, skin cells, and dust mite debris that passes through the fitted sheet.
Pillow protectors shield against similar buildup and prolong the life of expensive pillows. Follow manufacturer instructions for washing — most are machine-washable on a gentle cycle with mild detergent.
11. Clean and Organize the Junk Drawer
Every household has one. Once a month, empty it completely, discard expired items and broken things you’ve been meaning to fix, and wipe down the interior with disinfectant. Use drawer organizers to create zones for batteries, pens, small tools, and miscellaneous items.
Set a rule: if an item doesn’t fit the zones, it doesn’t go in the drawer. This prevents the junk drawer from becoming a chaos drawer.
12. Dust Hard-to-Reach Spots
Top-of-cabinet dust, the tops of door frames, the area above the refrigerator, and corners where walls meet ceilings all accumulate dust that’s invisible from floor level but visible when you look up. Use an extendable duster or attach a microfiber cloth to a broom handle to reach these areas.
Crown molding and the tops of tall bookshelves are other commonly forgotten spots. A quick pass with your duster takes minutes and makes a noticeable difference in overall air quality.
13. Clean Oven Glass and Stovetop
Even if you don’t use the self-cleaning function on your oven, you should wipe down the oven glass monthly. Remove baked-on splatters with a paste of baking soda and water, applied for 20 minutes before scrubbing.
For glass or induction stovetops, use a dedicated cooktop cleaner or the baking-soda paste method. Remove burner grates on gas stoves and soak them in hot soapy water while you clean the surface underneath.
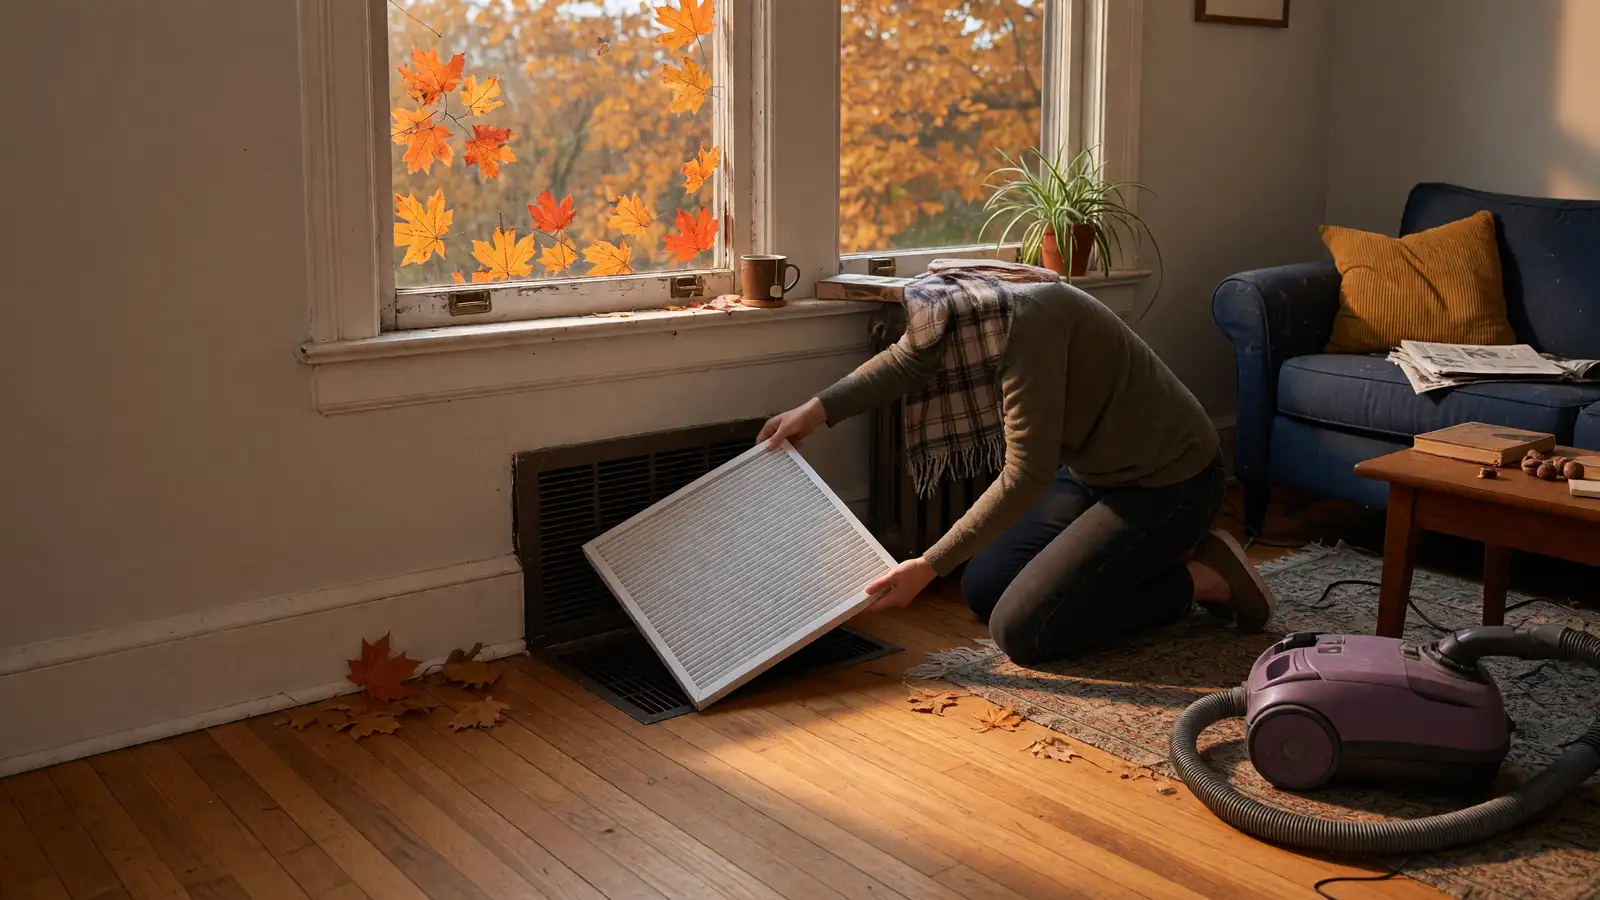
14. Check and Replace HVAC Filters
A clogged HVAC filter reduces air quality, increases energy bills, and strains your system. Check your filter monthly and replace it if it looks dirty — in practice, this means replacing most standard filters every one to three months depending on usage, pets, and local air quality.
Write the replacement date on the new filter with a marker so you know exactly when it was installed.
15. Wipe Down Doors and Door Handles
Doorknobs, handles, and the surface of doors accumulate fingerprints, smudges, and germs at a high rate because every household member touches them multiple times daily. Wipe them down with a disinfecting cloth, paying special attention to the front door handle, interior bathroom handles, and the refrigerator handle.
Don’t forget the light switches — they get touched just as frequently and harbor the same bacterial load.
Spreading the Workload
Fifteen tasks sound like a lot, but they don’t all need to happen on the same day. Spread them across two or three sessions each month. You might tackle seven tasks on the first Saturday and eight on the third Saturday, leaving you plenty of time for the rest of your month.
Some tasks pair naturally together: cleaning under appliances works well with moving furniture slightly to vacuum underneath, and washing interior windows pairs well with wiping down hard-to-reach dust spots since you’re already in an upward-looking mindset.
Make It Sustainable
The key to maintaining a monthly cleaning schedule is keeping it realistic. If fifteen tasks feel like too many in a given month, identify the top eight that matter most for your home and rotate the rest. The goal is consistent maintenance, not perfection.
Set a recurring calendar reminder on the first of each month. Print or bookmark this list and check off tasks as you complete them. Within two or three months, the rhythm will feel natural — and your home will maintain a higher standard of cleanliness with less effort than reactive deep-cleaning ever requires.
Monthly cleaning isn’t glamorous, but it’s the invisible infrastructure that makes weekly cleaning feel easier and seasonal deep-cleaning feel optional. That’s the kind of efficiency that actually improves daily life.