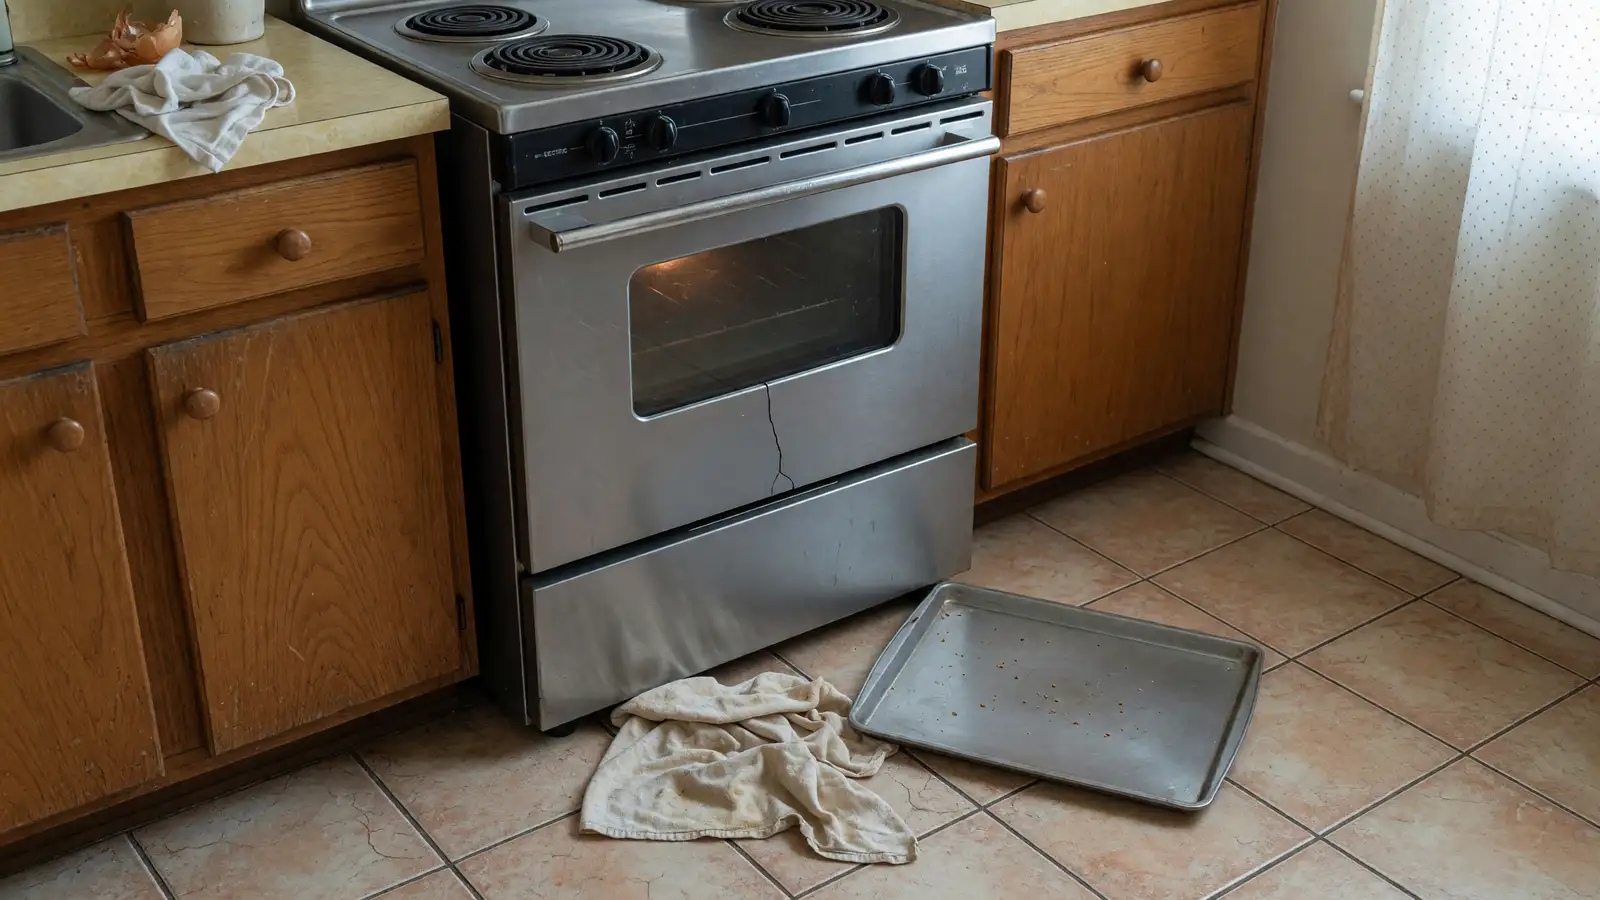
Your oven’s self-cleaning function sounds convenient until you realize it fills the kitchen with acrid smoke, triggers every smoke detector in the house, and can actually damage ovens older than about 10 years. The high-heat cycle pushes temperatures past 900°F, which is enough to warp door seals and weaken heating elements over time. There is a simpler way that costs almost nothing and keeps your kitchen air breathable.
Baking soda and vinegar handle most oven grime without fumes, without heat, and without a trip to the hardware store for chemical cleaners. The Kitchn tested five natural oven cleaning methods and found the baking soda paste approach consistently outperformed the rest. Here is the full process, step by step, plus what to do about the racks and how to keep the oven from getting this bad again.
Why the self-cleaning function is not worth the risk
The self-cleaning cycle works by superheating the oven to burn off residue. That sounds effective, but the byproduct is smoke and fumes that can irritate lungs, especially in smaller kitchens with poor ventilation. For ovens over a decade old, the extreme heat can warp the door gasket, damage the enamel coating, and stress the heating elements. Repair technicians report that self-cleaning is one of the most common causes of service calls after the cycle finishes and the oven stops heating properly.
Chemical oven cleaners are the other default option, and they come with their own problems. Most contain sodium hydroxide (lye), which is caustic enough to burn skin and eyes. The fumes are strong enough that you need open windows and decent airflow, and the residue has to be thoroughly rinsed before you cook anything. For people with asthma or chemical sensitivities, even well-ventilated use can be unpleasant.
What you need
- 1/2 cup baking soda
- A few tablespoons of water
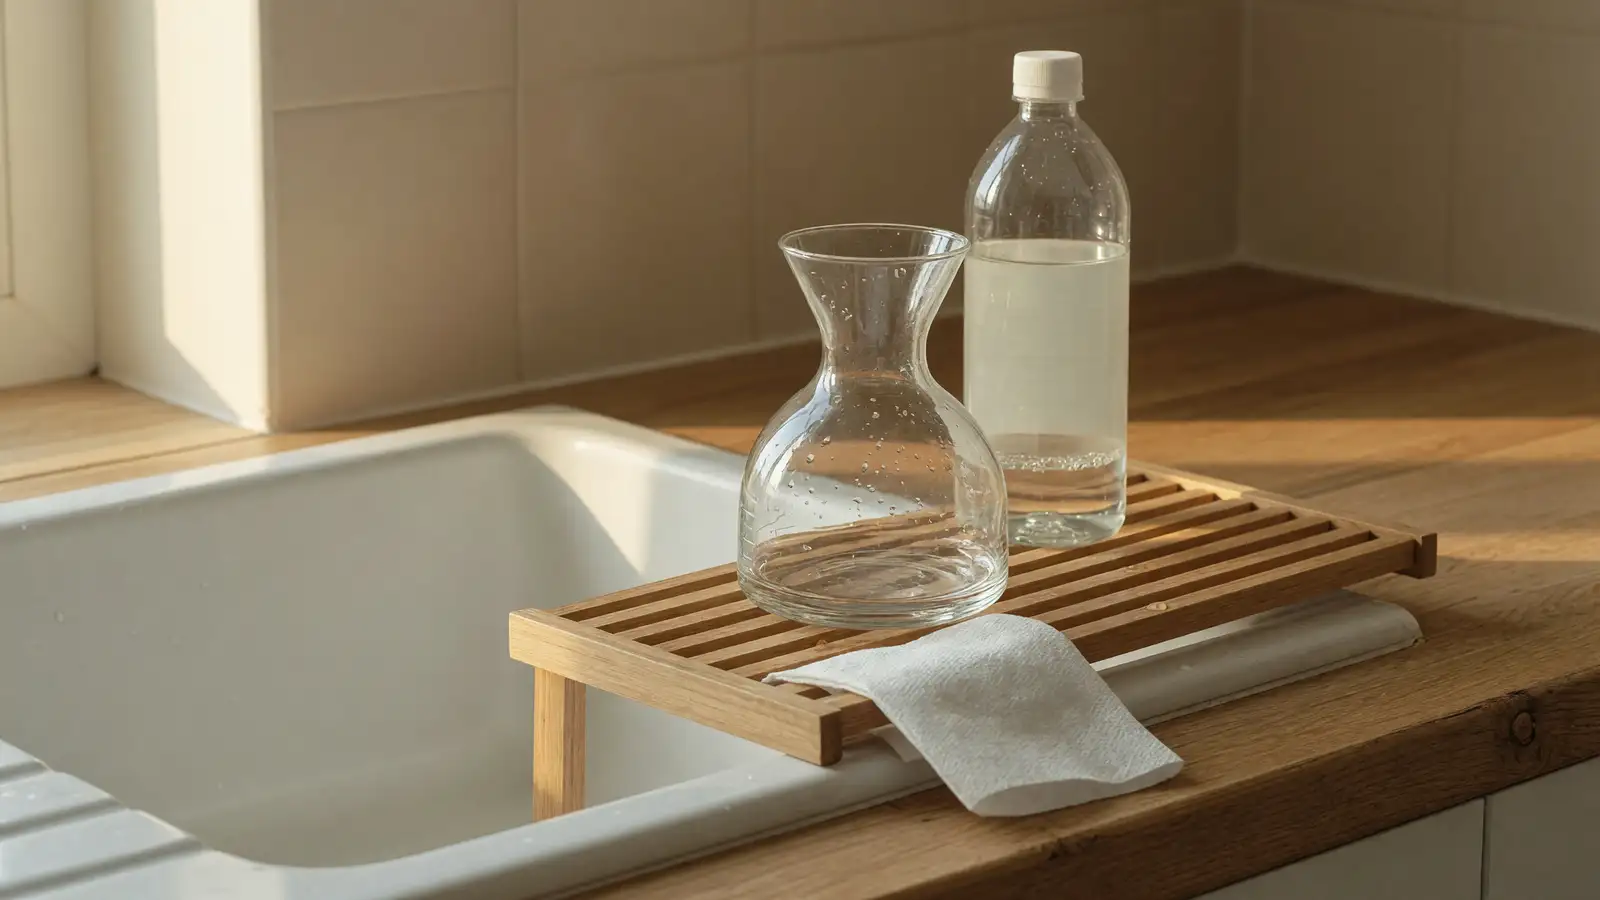
- White vinegar in a spray bottle
- A damp dish cloth
- A plastic or silicone spatula (for stubborn spots)
- Rubber gloves (optional but helpful)
- Old towels or newspaper (to protect the floor)
That is it. No specialty products, no protective equipment beyond basic gloves. Everything here costs under $5 at any grocery store, and most households already have baking soda and vinegar on hand.
Step-by-step: the baking soda paste method
1. Empty the oven completely
Pull out the racks, remove the thermometer if you have one, and take out anything else inside. Lay old towels on the floor in front of the oven to catch drips. This is a good time to deal with the racks separately (covered below).
2. Mix the baking soda paste
In a small bowl, combine 1/2 cup baking soda with roughly 3 tablespoons of water. Stir until you get a spreadable, frosting-like consistency. If it is too dry, add water a teaspoon at a time. Too runny, add a pinch more baking soda. The exact ratio depends on how much humidity is in the air, so adjust as you go.
3. Coat the oven interior
Spread the paste across every interior surface you can reach: the floor, the walls, the ceiling, and the inside of the door. Avoid the heating elements and any visible gas jets. The paste will turn brownish as it picks up grease, which is normal. Focus extra attention on areas with visible buildup, like the door glass and the floor beneath the broiler.
Wearing gloves helps here. You can press the paste into crevices and textured surfaces more effectively without worrying about grime under your fingernails.
4. Let it sit overnight
This is the most important step and the one people skip. The baking soda needs 12 to 16 hours to break down the grease. Spread the paste in the evening and leave it until morning. The longer it sits, the less scrubbing you do the next day.
5. Wipe out the dried paste
Take a damp dish cloth and start wiping. Most of the paste will come away easily, taking dissolved grease with it. For stubborn spots, use a plastic or silicone spatula to scrape. Metal tools risk scratching the enamel, so stick with plastic.
You will likely need to rinse the cloth several times. The paste turns grayish-brown as it absorbs grime, which is exactly what it is supposed to do.
6. Spray with vinegar
Fill a spray bottle with white vinegar and mist the entire interior. The vinegar reacts with any remaining baking soda residue, fizzing slightly. This chemical reaction helps lift the last bits of grime and neutralizes the alkaline baking soda so no film is left behind.
Let the vinegar sit for five minutes, then wipe everything down with a clean damp cloth.
7. Replace the racks and admire the result
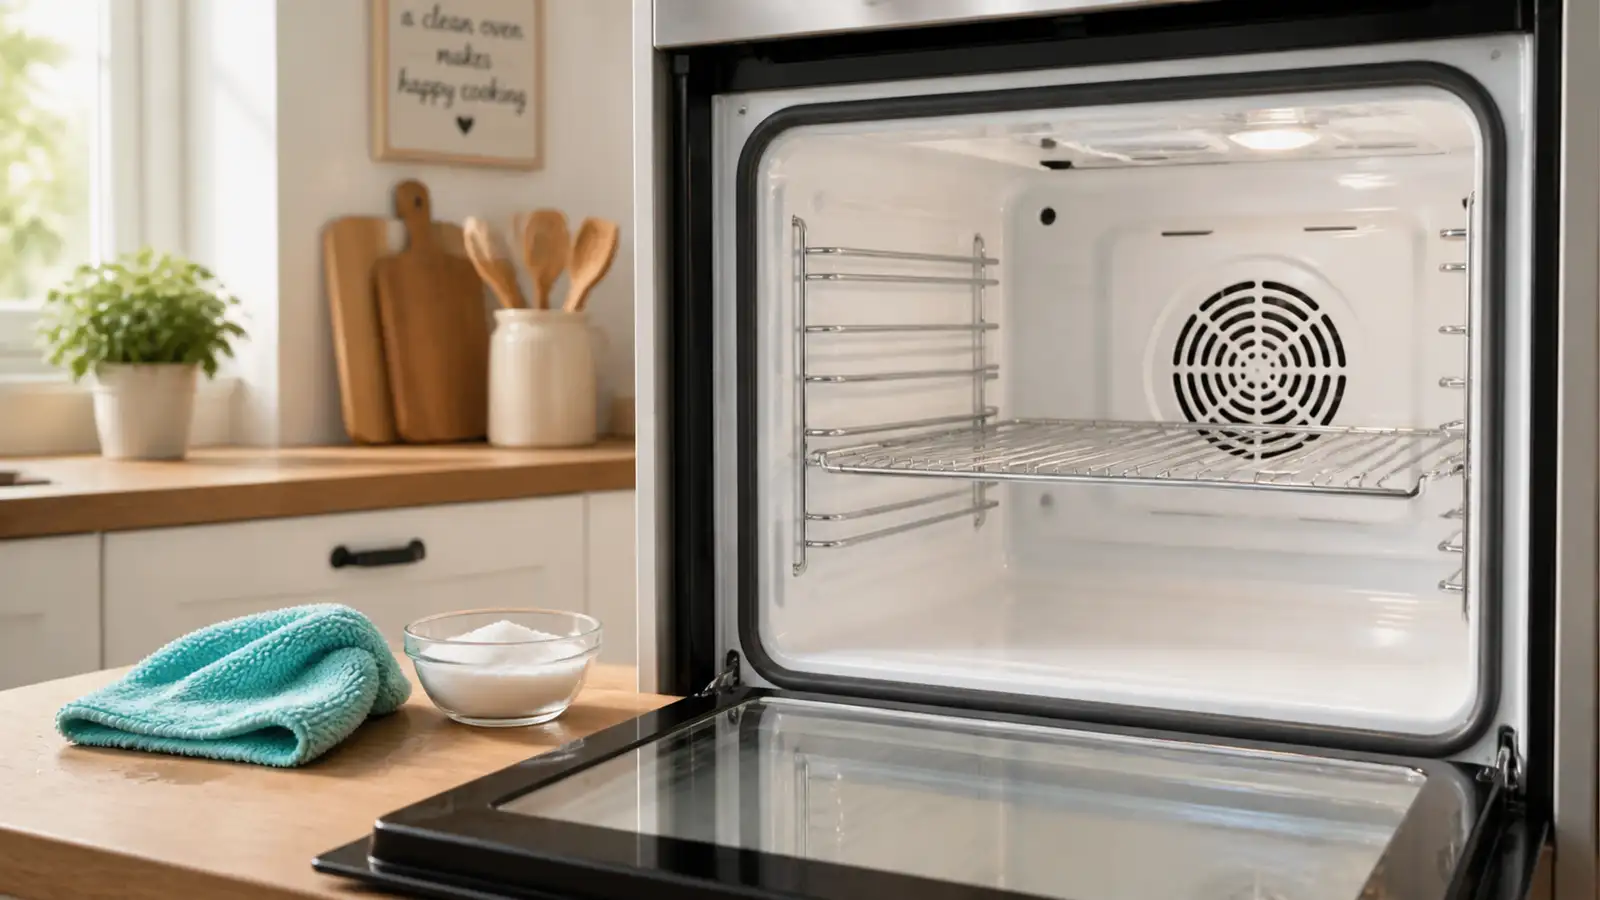
Put the clean racks back in, remove the towels from the floor, and you are done. The oven should look noticeably cleaner with zero chemical residue and no lingering fumes.
If some spots did not come clean on the first pass, repeat the paste application on those areas only. Spread a thin layer, let it sit for two to three hours, and wipe again. For extremely baked-on carbon deposits that survive a second round, a paste of baking soda and hydrogen peroxide (instead of water) works as a stronger alternative. Apply it the same way, let it sit overnight, and wipe in the morning.
Cleaning the oven glass door
The glass door is often the grimiest part because grease splatters directly onto it and bakes on layer after layer. After the general oven cleaning, inspect the glass. If a film remains, apply a fresh coat of baking soda paste directly to the glass, inside and out, and let it sit for another hour. Wipe with a microfiber cloth in circular motions. For the space between the glass panels (if your door design allows access), slide a microfiber cloth through the vent gap at the top or bottom of the door and pull it back and forth like flossing. Check your oven manual for whether the door panels can be separated, but most people can reach most of the space without disassembly.
Cleaning the convection fan
If your oven has a convection fan, the housing around it collects grease that is easy to miss. After wiping the oven walls, use a toothbrush or small nylon brush dipped in the baking soda paste to clean around the fan guard. Do not attempt to remove the fan or the guard unless your manual explicitly says it is user-removable. A quick brush and wipe is usually enough to prevent grease from smoking when the fan circulates hot air.
Cleaning the oven racks
The racks need separate treatment because they are too large to fit the paste method cleanly. The simplest approach is the bathtub method: lay the racks in an empty tub, pour boiling water over them, then sprinkle baking soda liberally and spray with vinegar. Let them soak for an hour, scrub with a nylon brush, rinse, and dry.
For chrome racks with heavy buildup, a trash bag method works well too. Slide each rack into a large garbage bag, pour in 1/4 cup of ammonia, seal the bag, and leave it outside overnight. The ammonia fumes loosen the grime without scrubbing. Rinse thoroughly the next morning. Do not mix ammonia with other cleaners, and do not use this method indoors. If the racks have a porcelain coating, avoid the ammonia method and stick with the baking soda soak, since ammonia can dull porcelain over time.
How often to clean your oven
A light wipe-down once a month prevents the kind of heavy buildup that requires an overnight soak. If you cook frequently, especially at high temperatures or with fatty foods, check the oven floor weekly and wipe spills before they harden.
For ovens used daily, the full baking soda treatment every three to four months keeps things manageable. If you only use the oven a few times a week, twice a year is usually enough. The key is catching grease while it is still soft, not after it has carbonized into a black crust.
What about the oven light and door seal
Do not forget the small parts. The oven light glass collects grease splatter that dims the light over time. Remove the cover (check your manual for the specific mechanism), wash it with warm soapy water, and dry before replacing.
The door seal is made of rubber or fiberglass and should never be scrubbed with abrasive tools. Wipe it with a damp cloth and mild dish soap. If the seal is cracked or compressed, replacement parts are inexpensive and easy to install, which improves heat retention and reduces energy waste.
Prevention beats deep cleaning
Lining the oven floor with a commercially available oven liner catches drips before they reach the enamel. Some people use aluminum foil, but manufacturers warn against it because it can block airflow and create hot spots. A dedicated silicone or fiberglass liner designed for your oven size is a better investment.
For stovetop-heavy cooking, a splatter screen over pans reduces the grease that reaches the oven in the first place. It is a small habit that pays off over months.
When to call a professional
Natural cleaning handles 90% of oven grime, but some situations call for professional help. If your oven has a gas leak smell that is not related to cooking, stop using it and call a technician immediately. If the heating elements are visibly corroded or the enamel is peeling, a professional cleaning or repair is safer than DIY scrubbing, because you could expose bare metal to moisture and cause rust. And if your oven is a high-end model with catalytic or pyrolytic liners (self-cleaning coatings built into the walls), check the manufacturer’s instructions before applying any paste, because some coatings react poorly to baking soda.
Cleaning a double oven
If you have a double oven, clean one cavity at a time. Start with the upper oven since it is typically less used and gives you practice before tackling the lower one, which usually has more buildup from roasting and baking. The process is identical for both, but spreading it over two evenings prevents the task from feeling overwhelming and lets you compare results to make sure your technique is consistent.
Sources
- The Kitchn, “How to Clean an Oven Naturally with Just Baking Soda and Vinegar,” 2025
- Ovenu, “Natural Cleaning Methods for Ovens,” 2026
- Ovenclean, “Homemade Oven Cleaner,” 2026