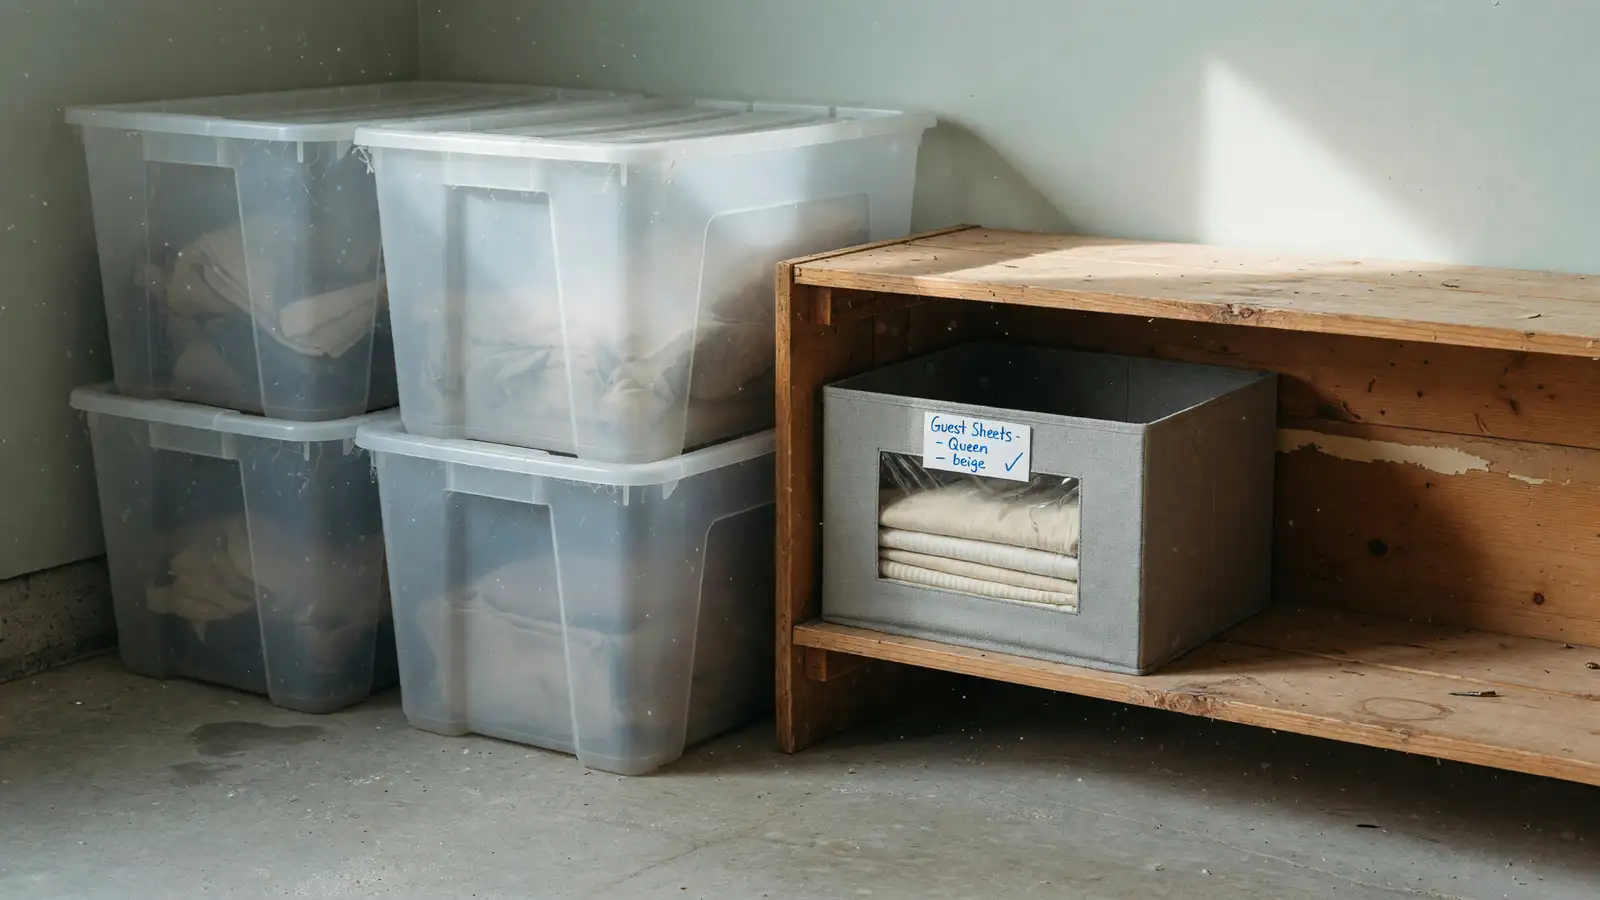
The average two-car garage has over four hundred square feet of floor space. The ceiling above it represents the same four hundred square feet of storage capacity that almost nobody uses. Instead, seasonal items, camping gear, holiday decorations, and the random detritus of household life occupy the floor, slowly consuming the space that was meant for cars.
Overhead garage storage reclaims this space. By moving rarely accessed items to ceiling-mounted racks, you free up the floor for the vehicles, workbenches, and projects that the garage was designed for. Here is what you need to know before installing overhead storage.
What Belongs Overhead
Ceiling storage is ideal for items accessed only once or twice per year. Holiday decorations, seasonal sporting equipment, camping gear, archived documents, and luggage all belong overhead. These items are heavy enough to be awkward on high shelves and light enough not to challenge the weight capacity of properly installed racks.
What does not belong overhead: anything accessed more than monthly, anything heavy enough to be dangerous if it falls, and anything sensitive to temperature extremes. Garage ceilings can reach over one hundred degrees in summer and below freezing in winter. Photographs, electronics, candles, and anything else damaged by temperature swings should not live in overhead storage.
Weight Capacity and Installation
Overhead storage racks are only as strong as their connection to the ceiling. The rack itself might be rated for six hundred pounds, but the ceiling joists and the fasteners determine the actual capacity. Always mount overhead racks directly into ceiling joists or roof trusses, never into drywall alone. A rack pulling out of the ceiling under weight is dangerous and expensive to repair.
A stud finder locates the joists. Mark their positions with painter’s tape before drilling. Use lag bolts at least three inches long, driven into the center of each joist. The rack manufacturer specifies the bolt size and spacing. Follow those specifications exactly. This is not the place for improvisation.
The rack should be installed with enough clearance to walk beneath it comfortably. For most garages with eight or nine-foot ceilings, a rack mounted with roughly thirty inches of clearance below it — about chin height for an average adult — leaves enough headroom while maximizing overhead storage volume.
The Loading Strategy
Heavy items go toward the edges of the rack, directly above the joist connections where the support is strongest. Light items fill the center. Distribute weight evenly across the entire rack rather than concentrating it in one area.
Use clear plastic bins with secure lids for everything on the overhead rack. The bins protect contents from dust and provide the visibility needed to identify what is in each bin from below. Label the bottom of each bin with its contents, since that is the surface you will see when looking up.
A step ladder rated for your weight plus the weight of what you are carrying lives in the garage near the overhead rack. The ladder makes accessing overhead storage safe and routine. Without a dedicated ladder, overhead storage becomes inaccessible in practice, and the entire system fails.
Overhead storage transforms a garage from a one-level storage unit to a two-level one. The floor holds the cars and the daily-use items. The ceiling holds everything else. The result is a garage that actually fits cars, which sounds obvious but remains aspirational for millions of homeowners.